With Wimbledon on the horizon we think our Tennis Ball shortbread biscuits are a perfect celebratory snack for the event and are great if you’re hosting a tennis-themed get together to mark the event. These are incredibly easy to make and are a great activity to get little hands involved in the fun, but you may want to leave the piping up to the adults as this bit can be a little fiddly! For this recipe you will need to make a batch of shortbread for the base of your tennis balls (you can find our recipe here), just allow to cool completely before you try and stick your tennis balls to the biscuits and we suggest keeping the sprinkling of caster sugar in the shortbread recipe sparse to make it easier to stick the tennis balls to the biscuits.
For these biscuits you will need a rolling pin, circular cookie cutters, icing sugar, yellow ready to roll icing and a white chocolate icing pen – if you have a steady hand and are a confident piper you could use a piping bag instead of the icing pen.
STEP ONE: ROLL THE ICING
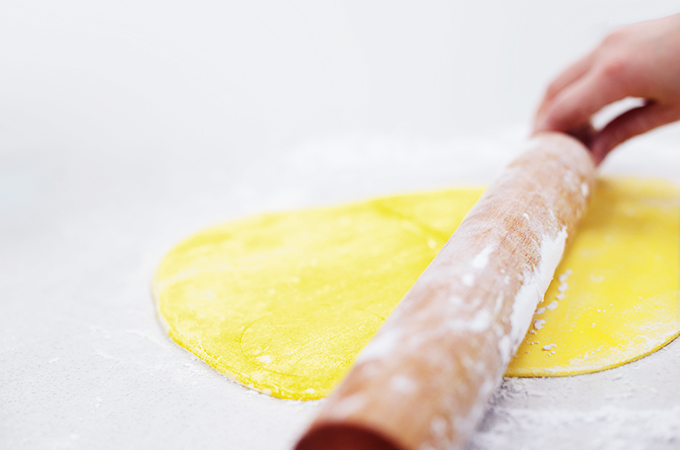
The first thing you need to do is lightly dust your worktop with icing sugar and don’t forget to sprinkle your rolling pin with it too. This stops your ready to roll icing from sticking to the work surface avoiding any possible rips and tears. If your icing is cold when you begin knead it by hand before rolling it out to warm it a little until it becomes more malleable; if the icing is softer and has more stretch it will be much easier to roll out to an even thickness ready for cutting.
STEP TWO: CUT THE ICING
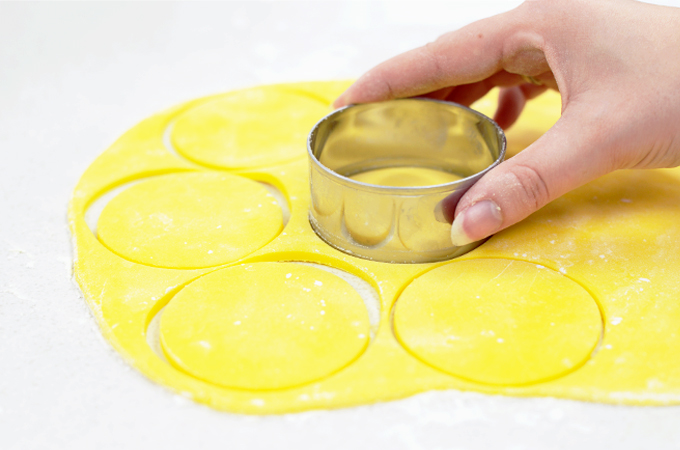
Using a round cookie cutter (without a scalloped edge!) gently press down into the icing making sure you aren’t stamping over the edges of other cut outs or edges of the icing. We recommend trying to get these as close to one another as possible to get the most tennis ball bases out of the icing as possible – best to have too many than not enough after all! These should lift easily from your work surface thanks to the icing sugar underneath, but if you’re struggling to pick these up slide a palette knife underneath to help release them.
STEP THREE: ICING GUIDELINES
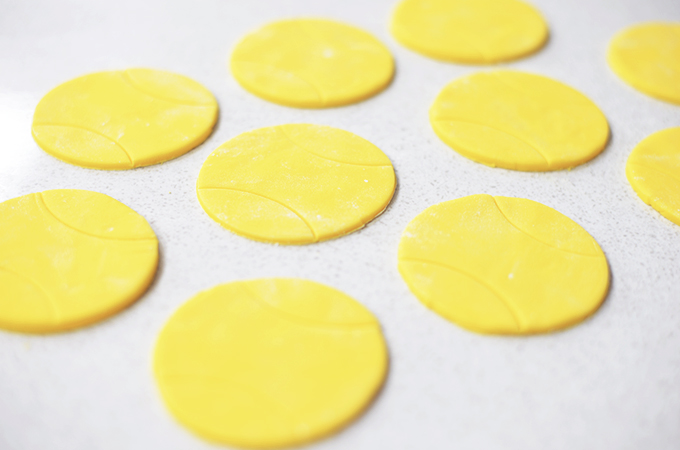
Using the same cookie cutter gently indent the circles of icing to create guidelines to follow for when you come to pipe your icing. Take care to only press down ever so lightly so you don’t go all the way through, and try and get even semi-circles on both sides.
STEP FOUR: PIPING YOUR ICING
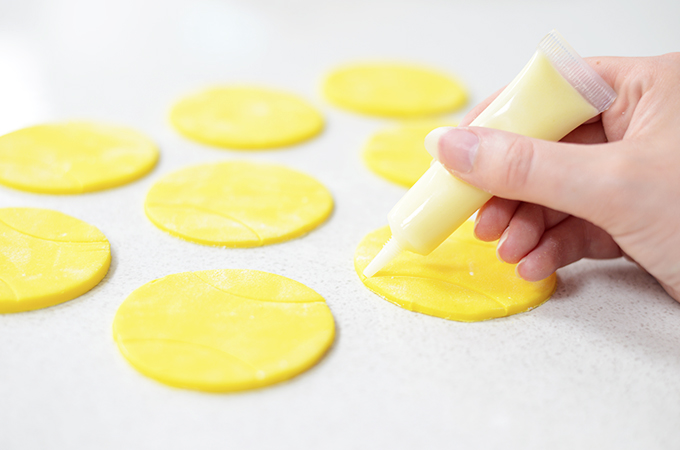
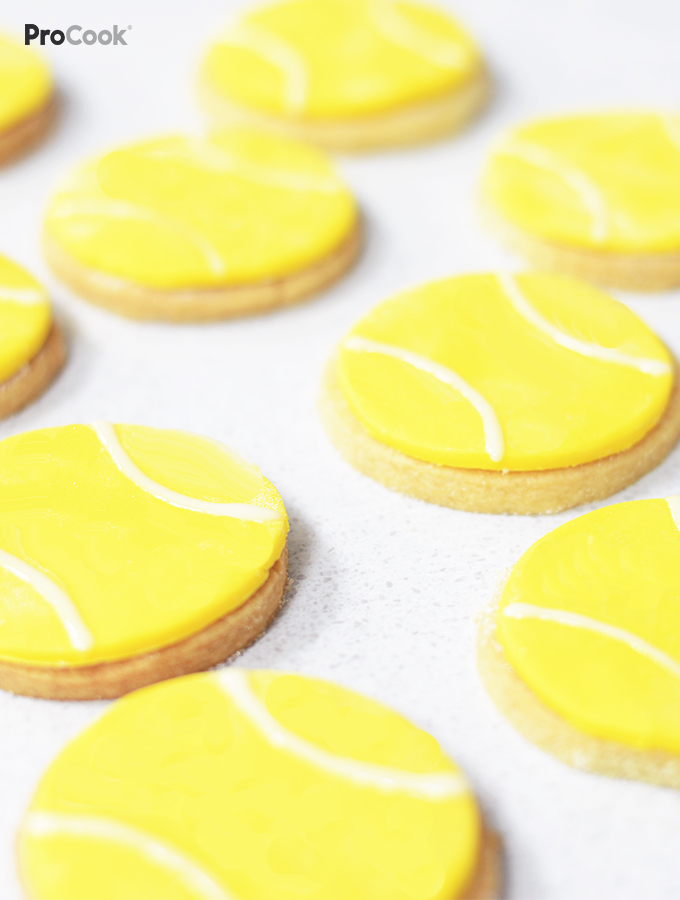
Starting at the furthest tip from you, gently squeeze the icing pen as you follow the guideline you created in the last step. We did two layers of icing allowing them to set a little in between to thicken the lines and make them more prominent. We used a white chocolate icing pen for a deliciously sweet added touch, but you could use one that is just icing sugar based if you would prefer.
STEP FIVE: GLUE DOTS
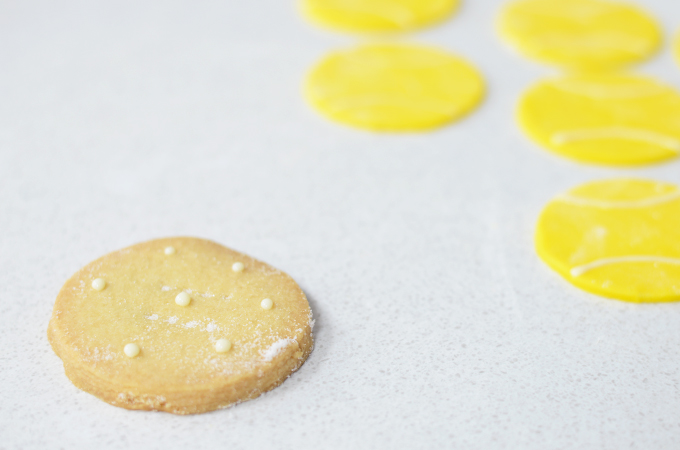
Once your icing lines have set use the same icing pen to ice a number of dots across the surface of your shortbread (flip your biscuit over if you want a perfectly flat top to your biscuit) and gently place the yellow circle on top taking care to not press too hard to avoid indenting the icing.
AND THAT’S IT!
Although we have made these as tennis balls for Wimbledon the possibilities are endless – more of a football fan? Use white ready to roll icing and cut out black pentagons to make footballs, or perhaps you could use these as baby shower treats by piping a baby’s features onto the biscuit instead? Let your creativity run wild, and if you do make these biscuits let us know by tagging #myprocook on your Instagram posts!
Psst – don’t forget you can pin the image below to save this post for later!

Leave a Reply